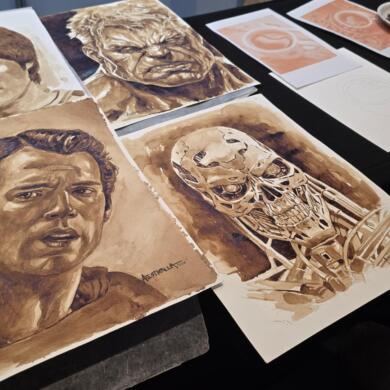
1. Double-Check The Artwork’s Condition
We don’t want an unhappy customer, so before shipping an artwork, make sure the artwork is in excellent condition. If you happen to retouch the painting before shipping, double-check the drying times, and make sure your painting is completely dry before shipping it. Some types of paint seem dry when they’re not.
Some Materials You’ll Need:
![]()
- Artist Tape
- Packing Tape
- Foam Sheet
- Bubble Wrap
- Glassine Paper
- Fragile Tag / Sticker
- Foam Board / Styrofoam
- Scissors
- Cutter Blade
- Tape Dispenser
- Kraft Paper
- Mailing Tube
- Double-Wall Corrugated Box
2. Measure Your Artwork and Select an Appropriate, Sturdy Shipping Container.
Ship unframed artwork larger than 48×48 inches and framed pieces larger than 18×24 inches in a secure crate. Build a customized box, or take your artwork to a nearby courier center for professional packing.
Ship smaller works in a new, double-wall corrugated box that will minimize movement and allow adequate space for padding. Add extra six inches for cushioning. Mirror of picture boxes that are well suited for framed and mounted artwork are available in various sizes.
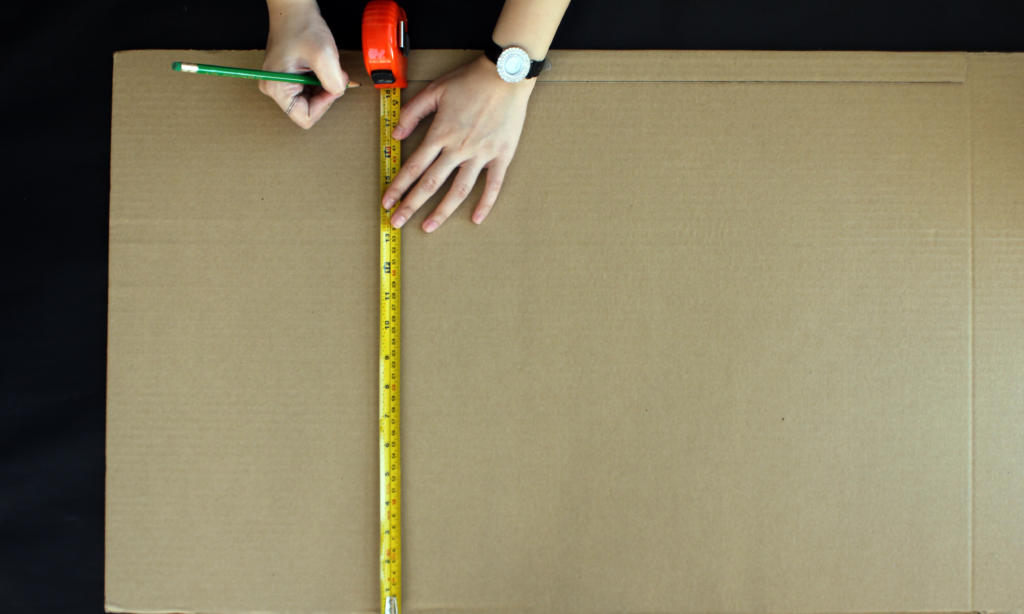
(Materials used: double-wall corrugated box, measuring tape, pencil)
Whatever you do, don’t re-use a box. Not only will a recycled box provide less protection, but it also looks unprofessional. Ship unmounted artwork that may be rolled up without damage in a sturdy shipping tube that’s at least four inches longer than the shortest side of you flat artwork. Allow four to five inches of padding on each side.
3. Cover Artwork with Glassine or Wax Paper and Bubble Wrap or Foam Sheet.
Wrap the canvas entirely in an acid-free, archival-quality glassine or wax paper to protect against dust and moisture. Ensure the paper covers all sides and edges of the art. Secure it with acid-free artist tape. Add a layer of bubble wrap or foam sheet for cushion.
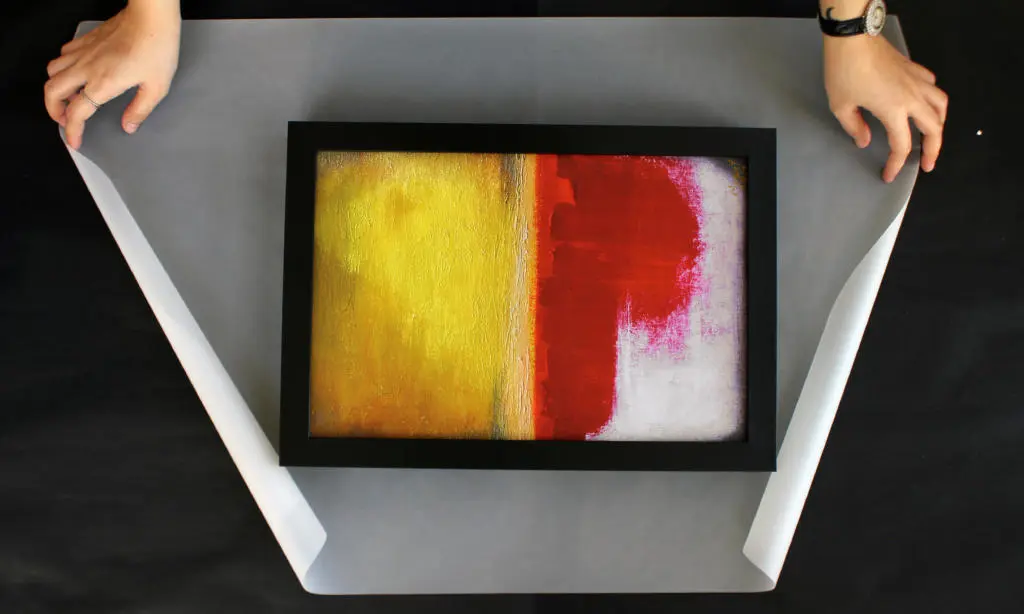
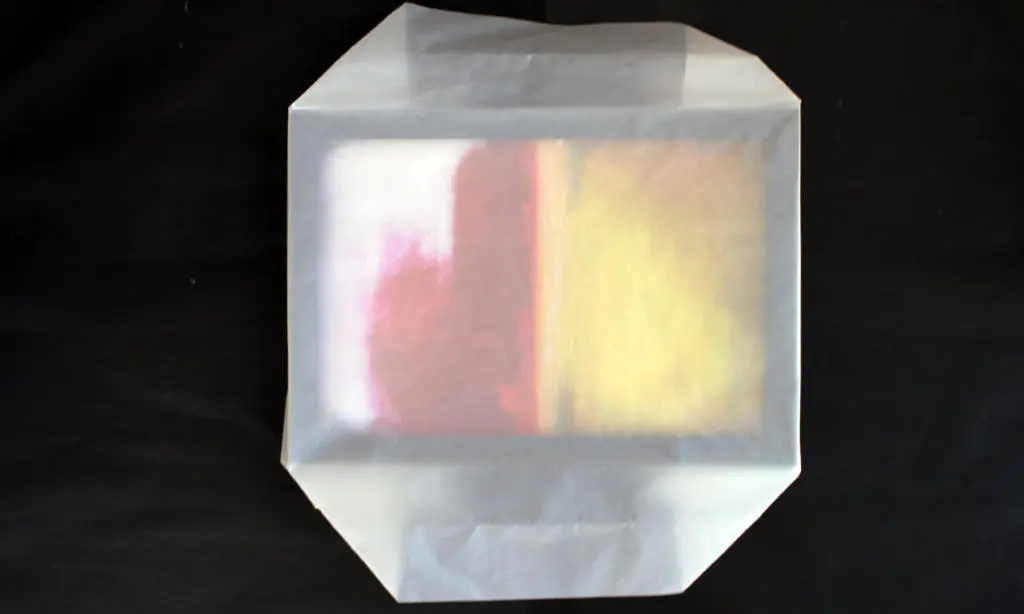
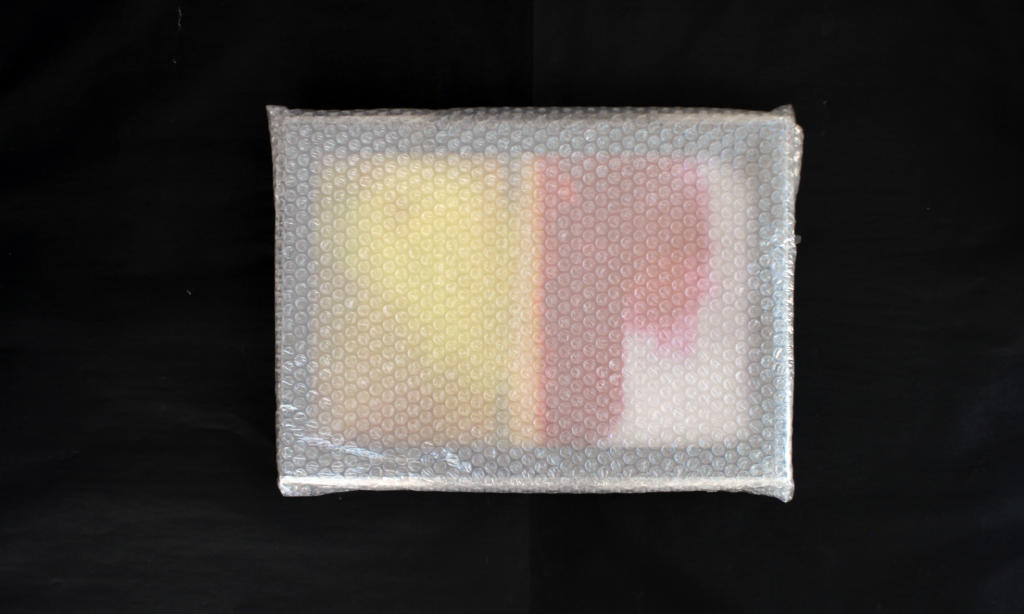
(Materials used: glassine paper, bubble wrap, masking/artist tape)
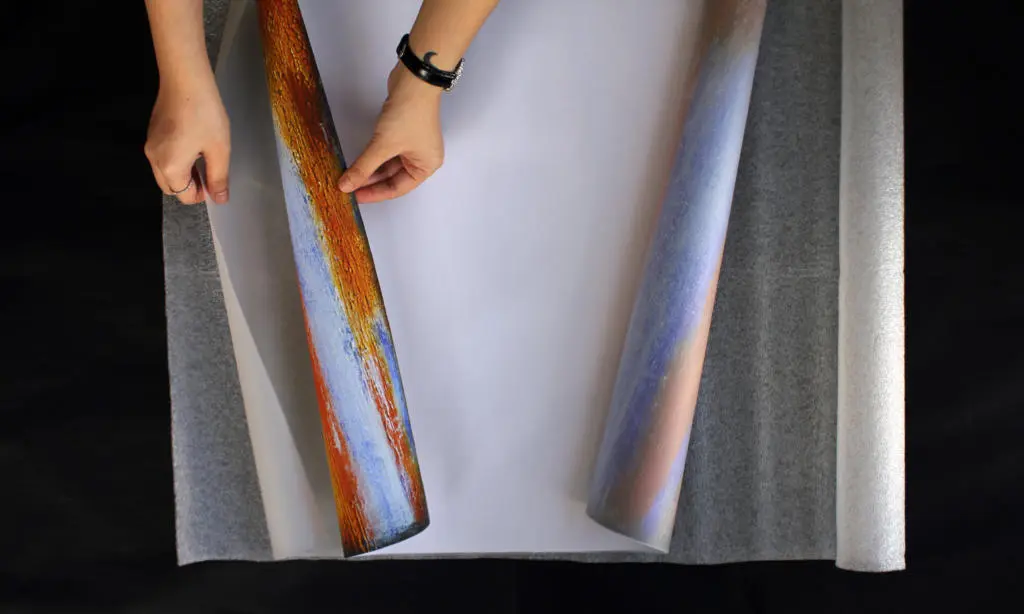
If you’re going to roll your painting, protect it with glassine or wax paper. First, place it atop two glassine paper sheets that are at least two inches larger than the artwork on all four sides. Next, place the smooth side against the art. Tape all seams with packing tape to provide a barrier against moisture.
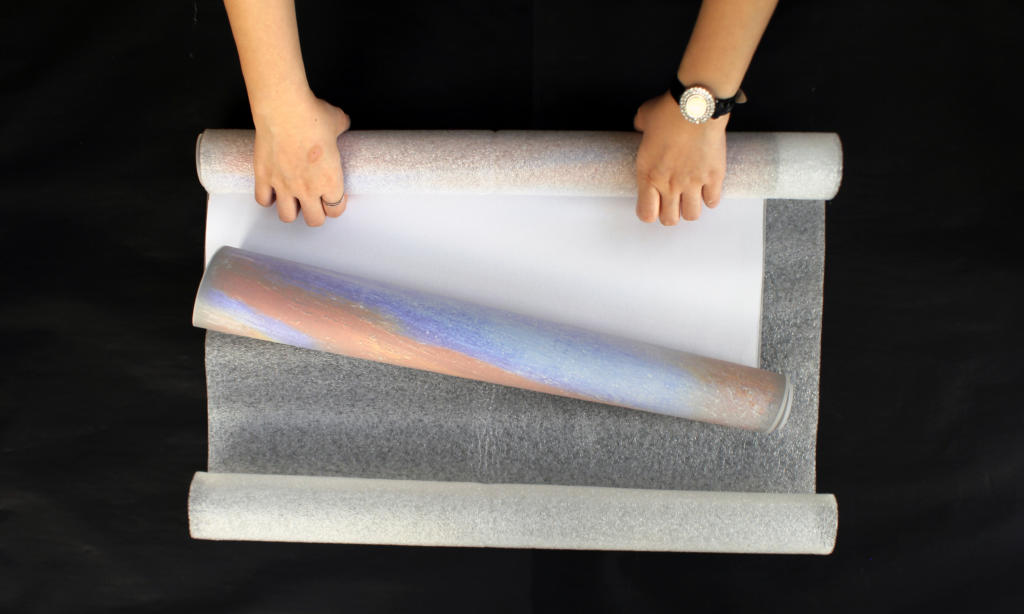
(Materials used: glassine paper, foam sheet)
For rolled artwork, make sure to wrap the painting with at least one layer of bubble wrap or foam sheet, sealed with tape, before placing it in the mailing tube.
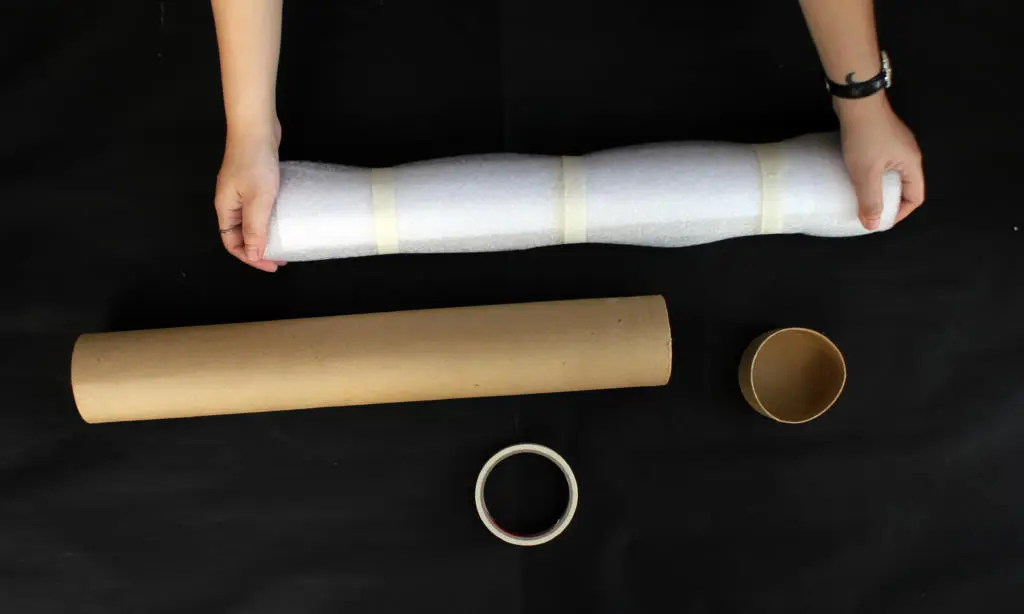
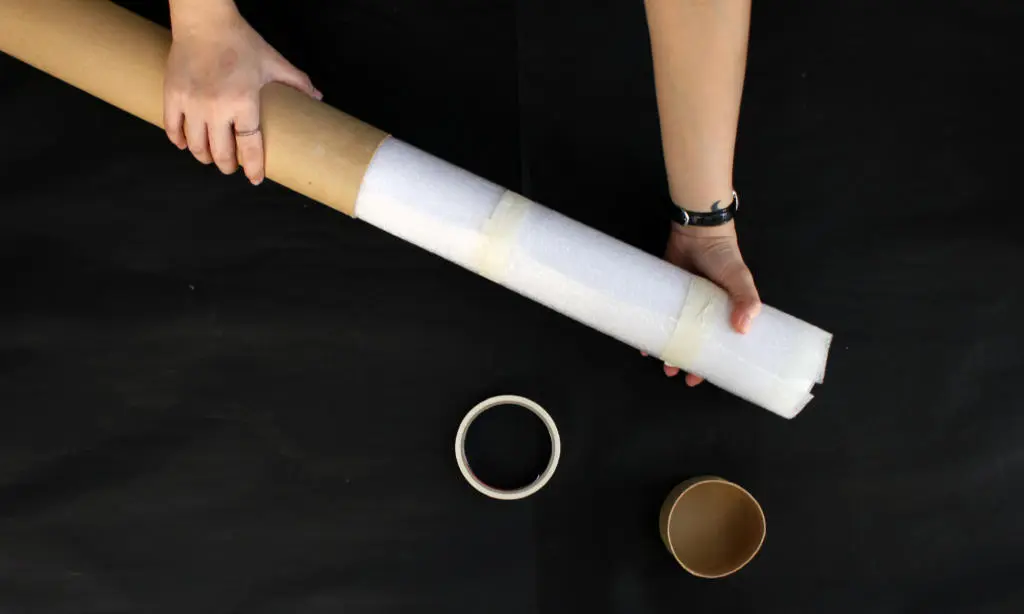
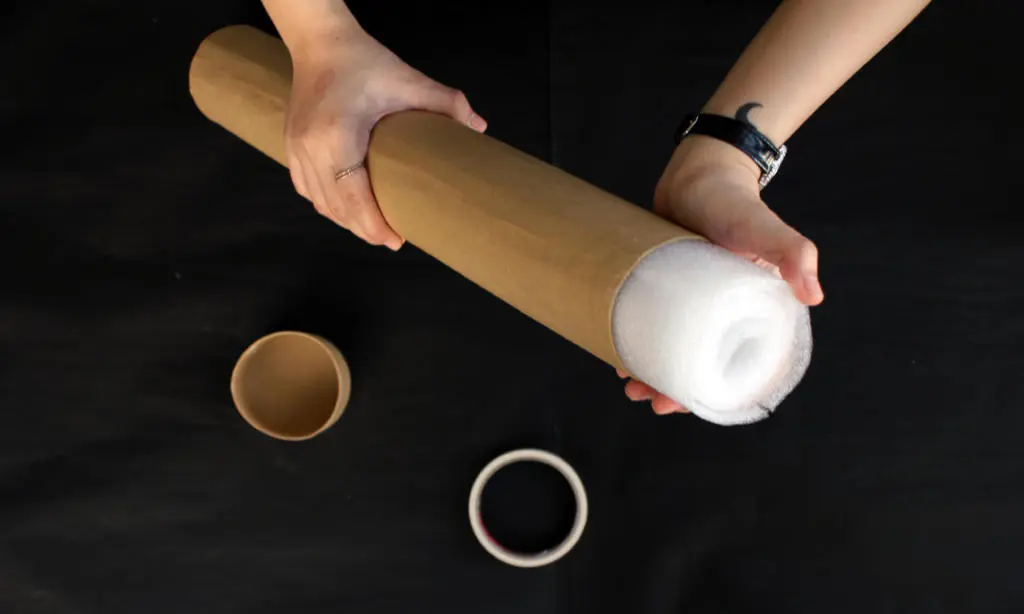
(Materials used: glassine paper, foam sheet, masking/artist tape, mailing tube, packaging tape, fragile sticker)
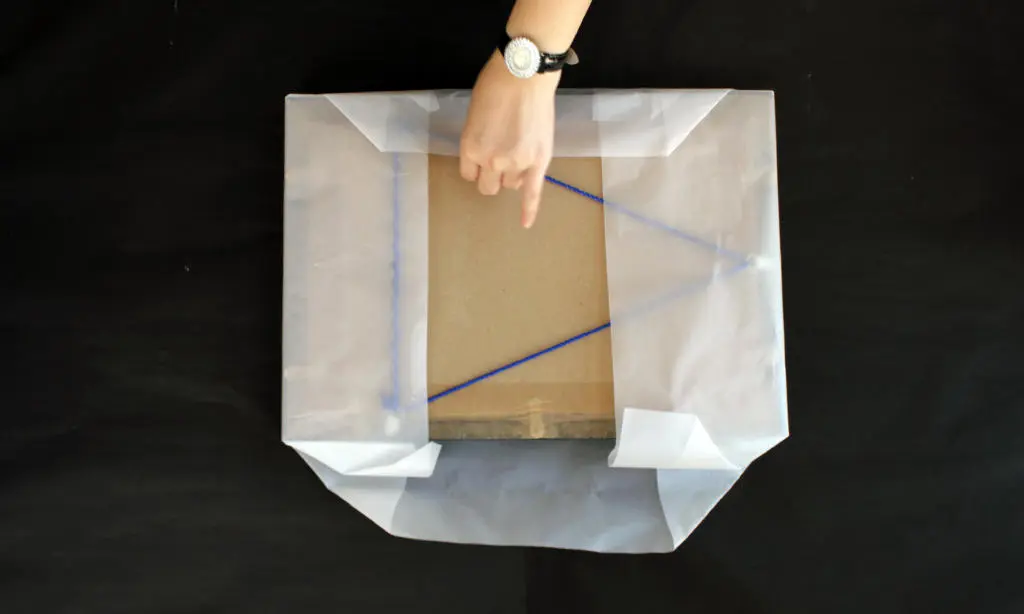
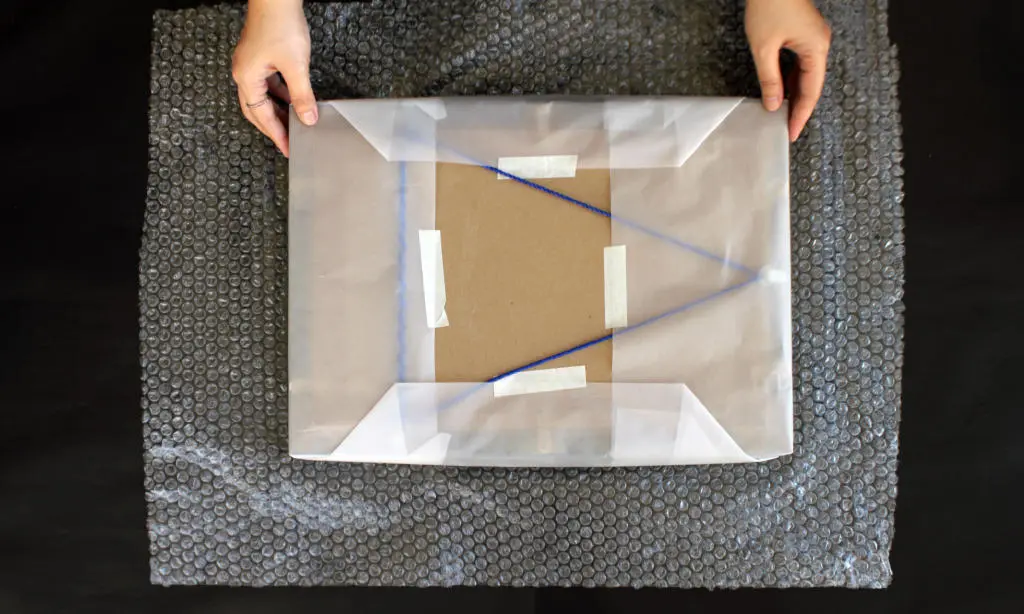
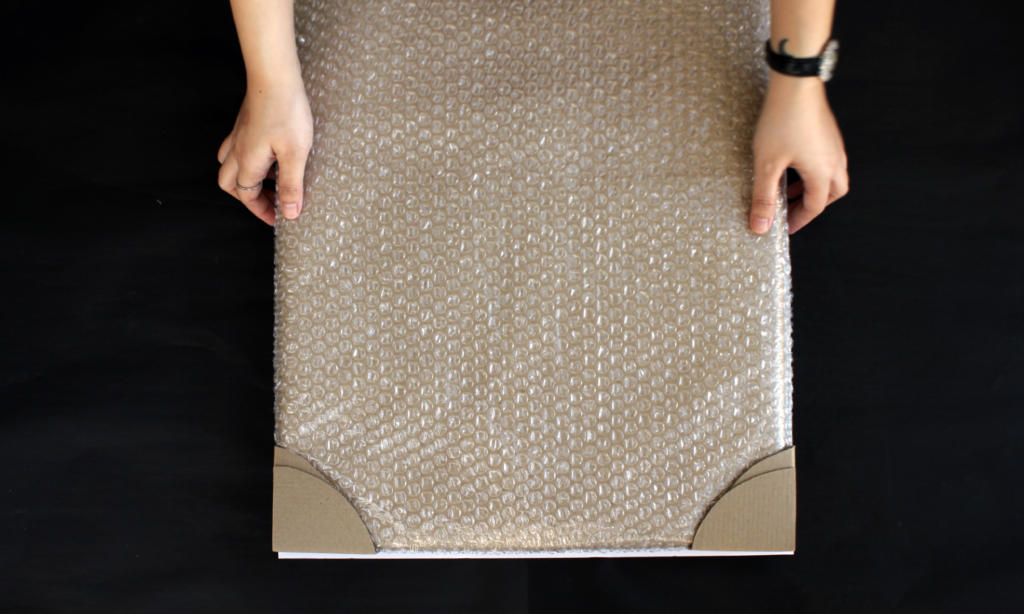
4. Protect The Corners.
The corners are more likely susceptible to damage. Protect framed and unframed art with cardboard corner protectors. Secure the triangle pieces to all four corners with artist tape.
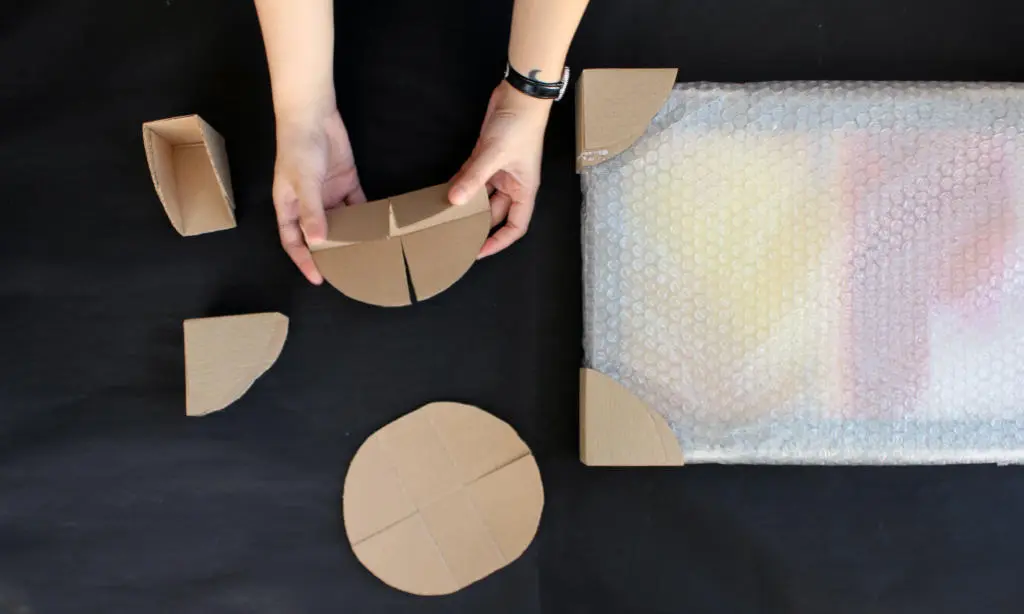
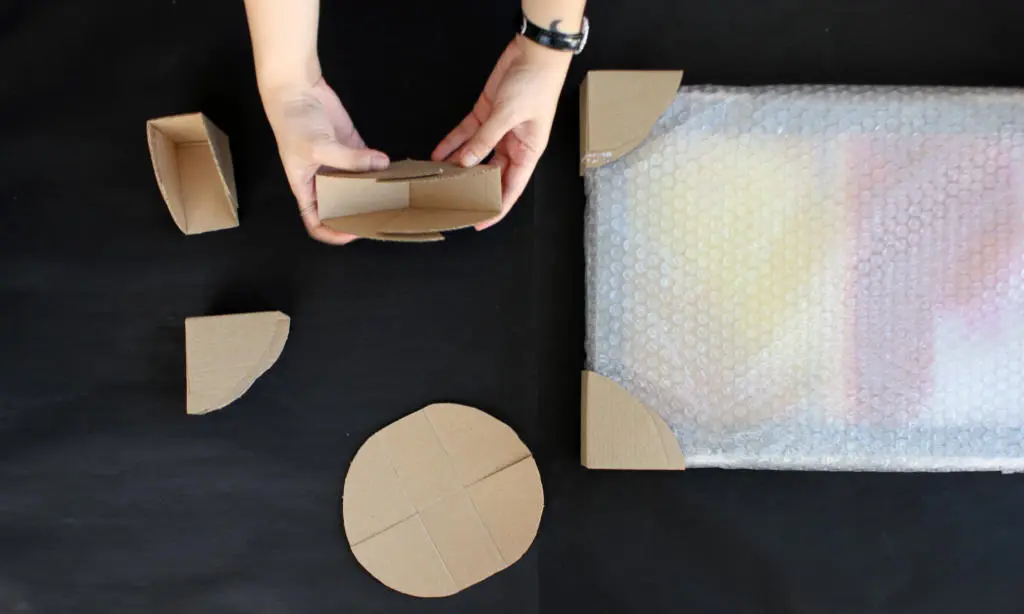
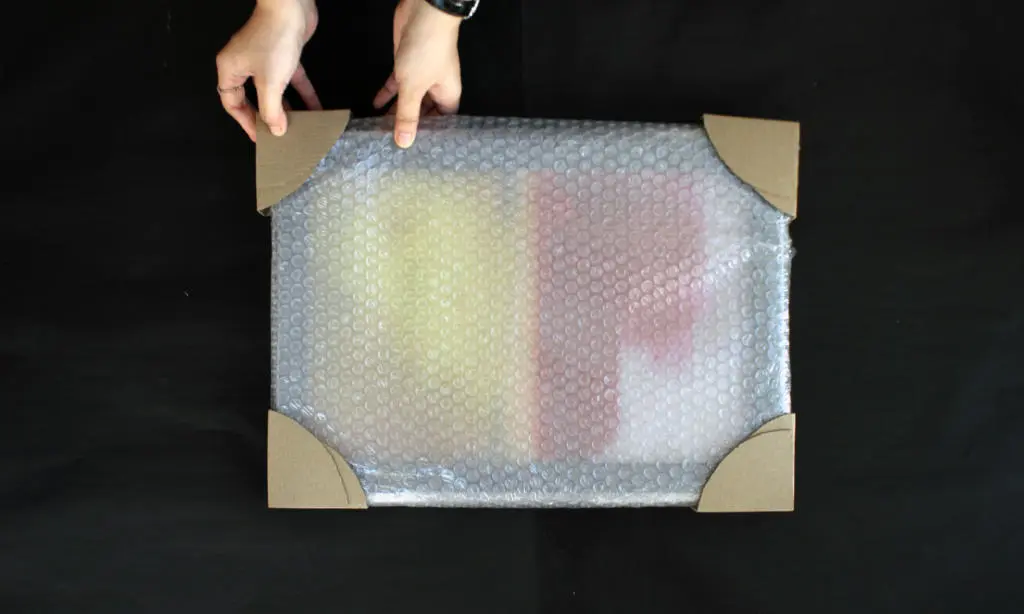
(Materials used: customized corners)
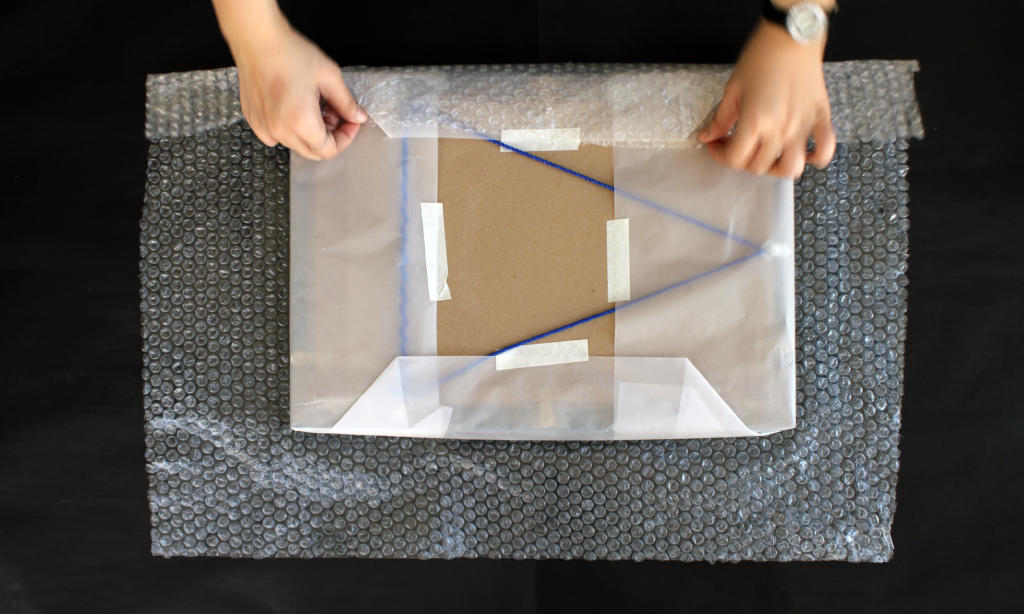
5. Sandwich Your Wrapped Artwork Between Foam Boards.
Position your bubble-wrapped artwork between two pieces of foam board that are at least 1/2-inch thick for an added layer of protection. Tape the boards together with packing tape to create a “sandwich.”
Don’t tape your panels together too tightly, as excessive pressure may damage the surface of the art.
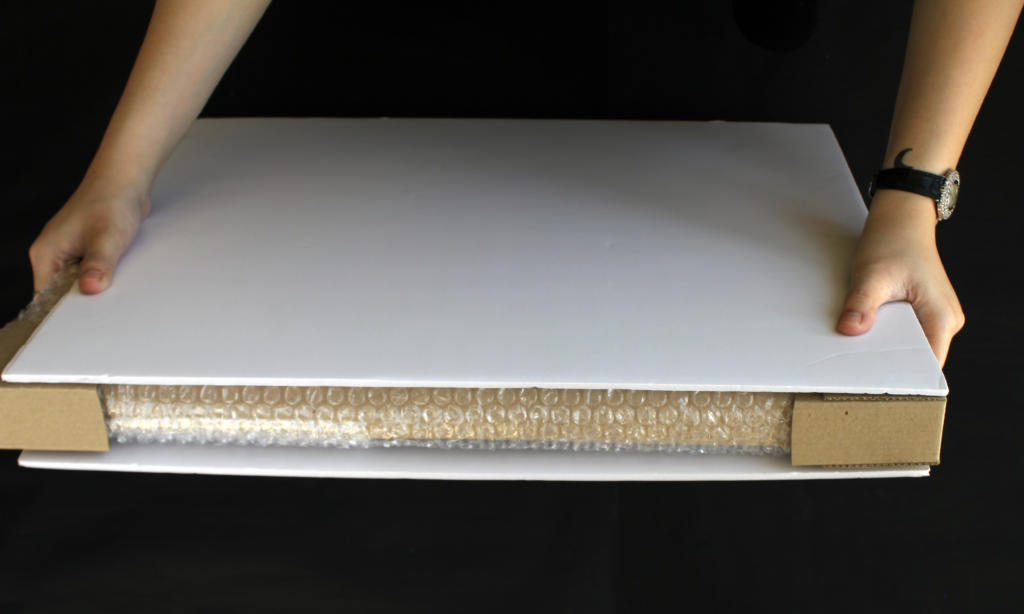

(Materials used: corners, bubble wrap, foam board, double-wall carton box, packaging tape, fragile sticker)
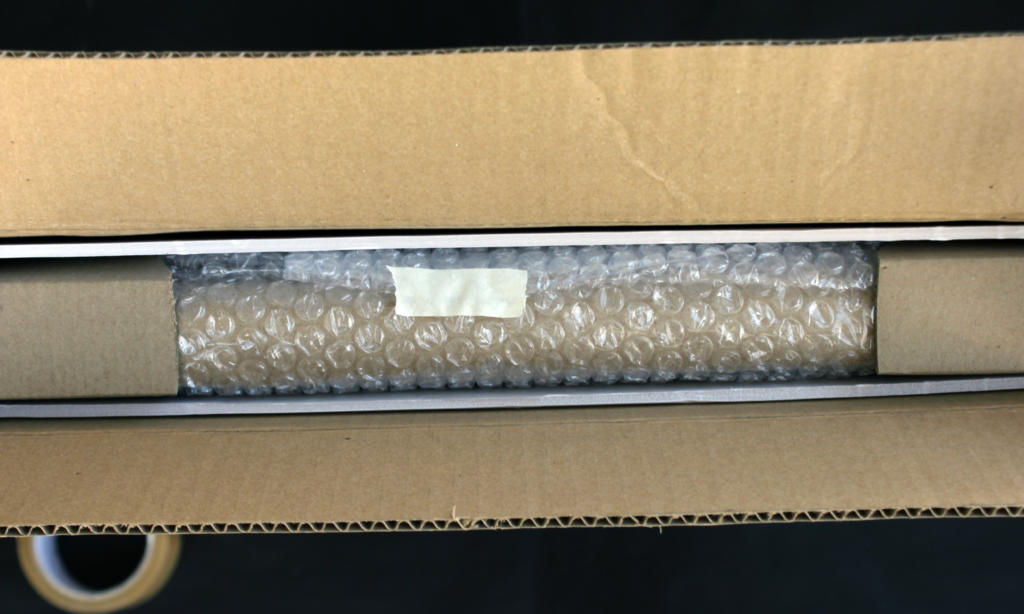
6. Fill Voids in Your Parcel With Additional Bubble Wrap.
When shipping artwork, movement and friction are the enemies, Don’t skimp on the padding at the top and bottom of the box or tube, as these areas are vulnerable.
Depending on the size of your shipping container, you may either wrap your foam board “sandwich” with additional layers of bubble wrap or pad any space remaining in your box with bubbles.
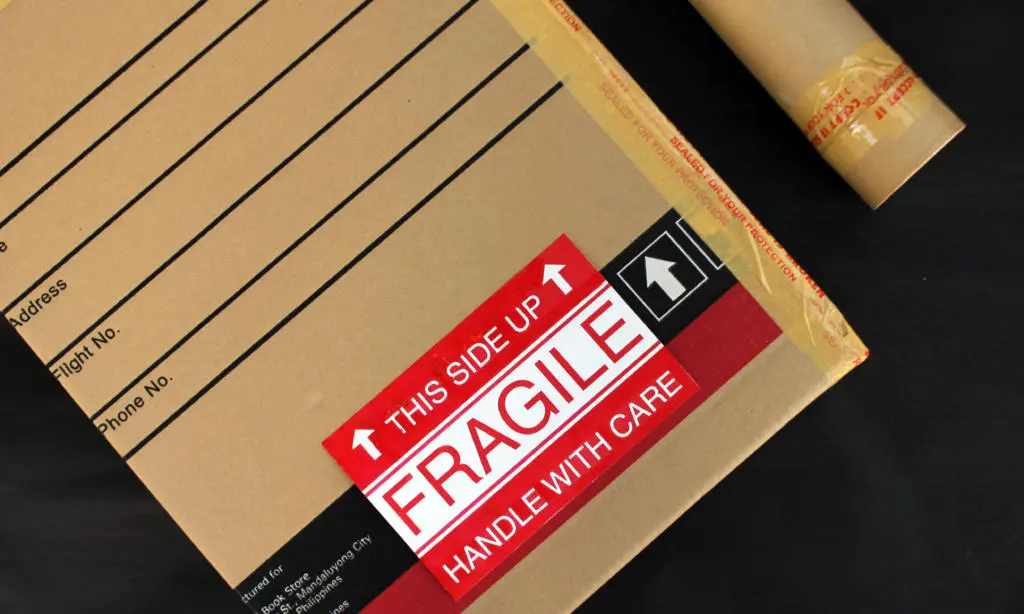
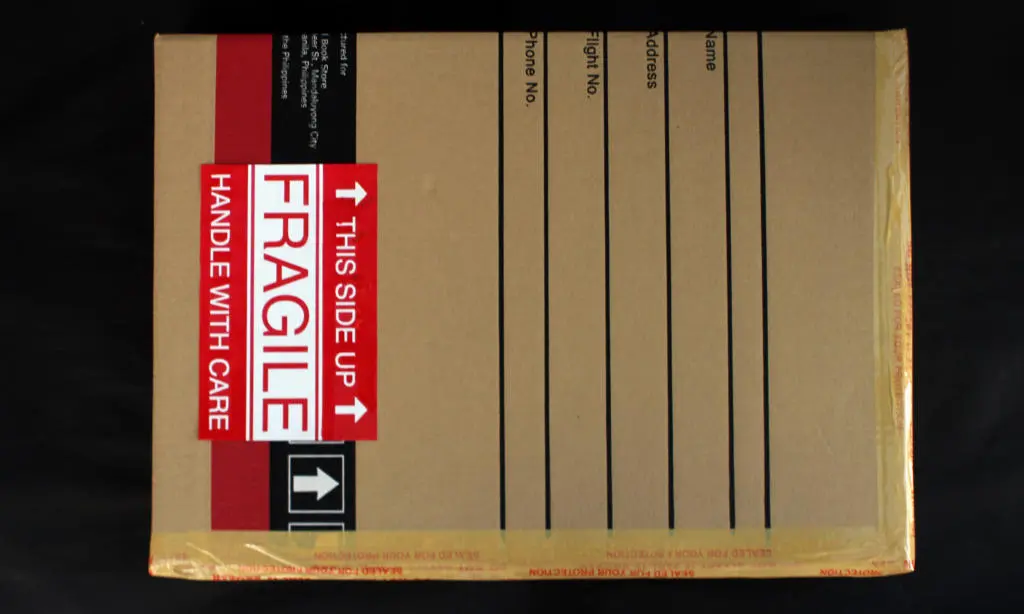
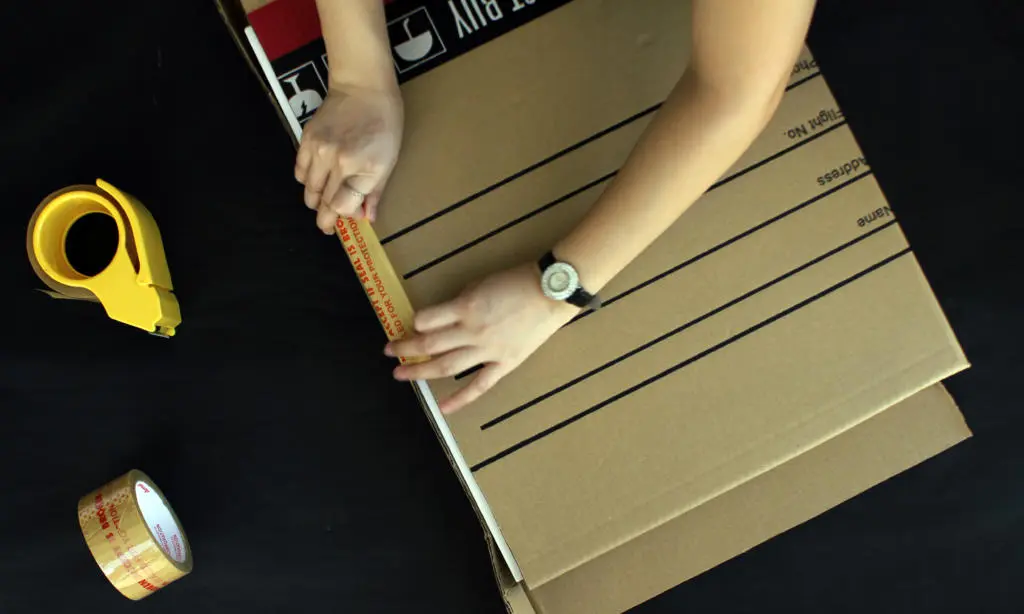
7. Fill Voids in Your Parcel With Additional Bubble Wrap.
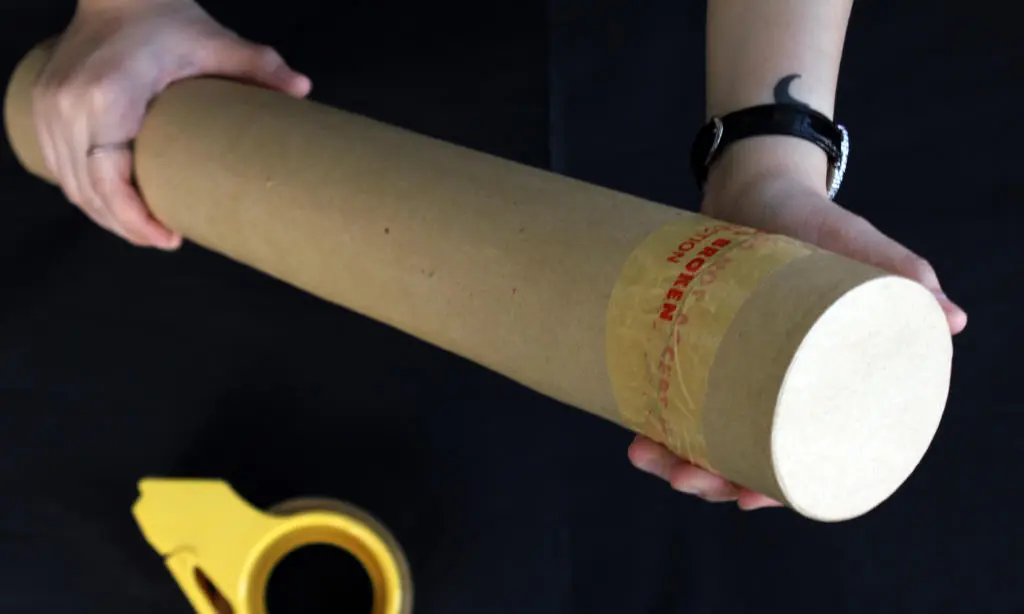
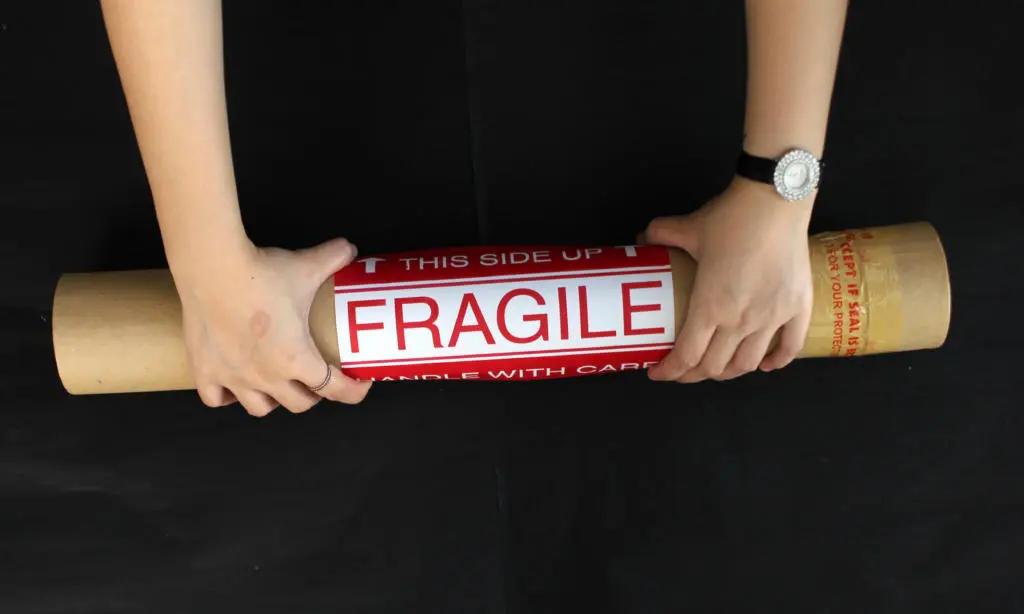
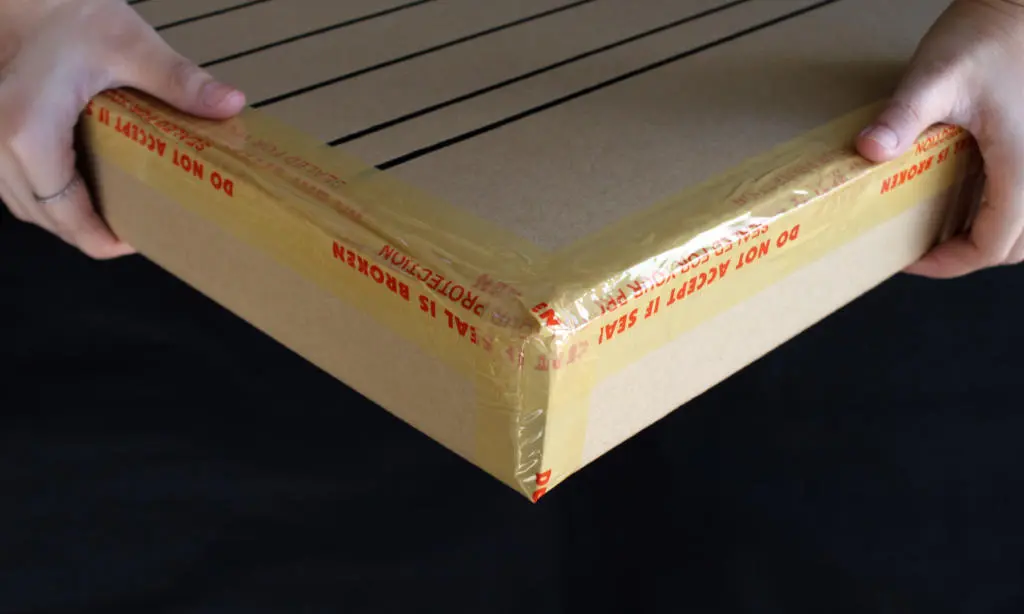
Seal the parcel with heavy-duty, high-quality packing tape. Cover all seams on the top and bottom of the box or tube completely with strong, pressure-sensitive poly tape that’s at least two inches wide.
Apply additional vertical strips of tape across the sealed flaps for reinforcement. Do not use duct tape or other household tapes to seal the parcel.
Do You have Questions or Comments?
Feel free to share your feedback.